Are you interested in adding users to your MailChimp lists through your Joomla forms? Are you seeking a solution to integrate Convert Forms with MailChimp and automate lead generation effortlessly? With the MailChimp app for Convert Forms, you can easily subscribe users in your MailChimp account each time someone submits your form.
This tutorial will guide you through using and configuring the MailChimp addon in Convert Forms.
TABLE OF CONTENTS
Requirements
To use the MailChimp integration, there are a few requirements you need to meet, listed below:
- Ensure you have Convert Forms Pro installed. You can easily upgrade to Pro if you're currently in the Free version
- The "Convert Forms - Apps - MailChimp" plugin is enabled.
- Your form includes an Email field.
Setting Up MailChimp Task
To set up the MailChimp task and sync your submissions to the MailChimp service, go into your form, and follow the steps listed below:
Select App
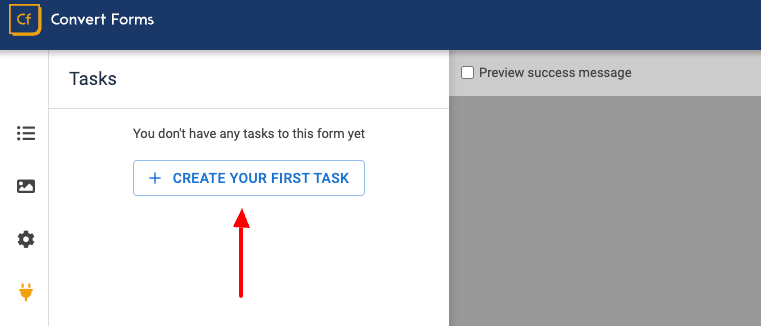
From within your form, click on Tasks > CREATE YOUR FIRST TASK.
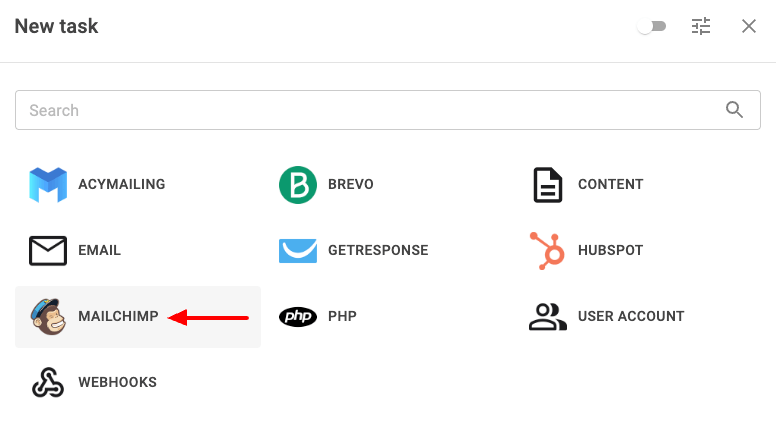
On the modal that will open, select the MailChimp task.
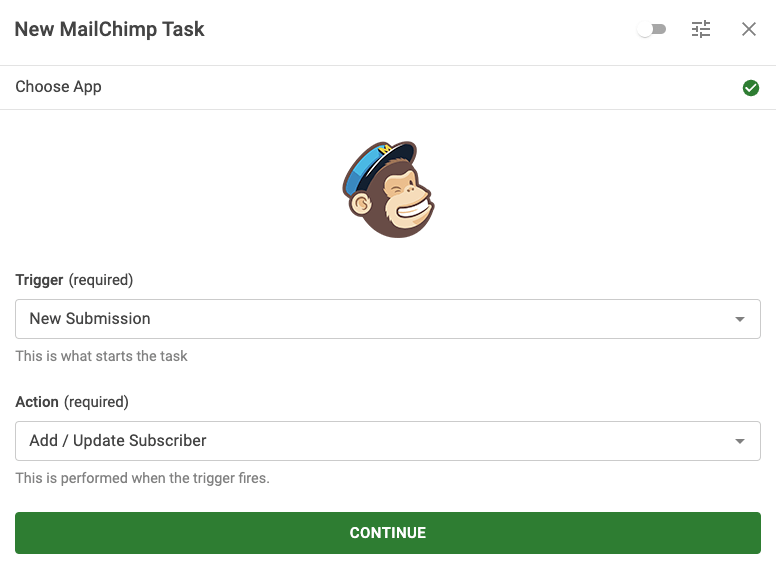
Select New Submission under Trigger and Add/Update Subscriber under Action on the next screen, and click CONTINUE.
Create Connection
A connection is essential to connect to a 3rd-party service, such as MailChimp. Let's see how to create a new connection that will allow us to connect to MailChimp.
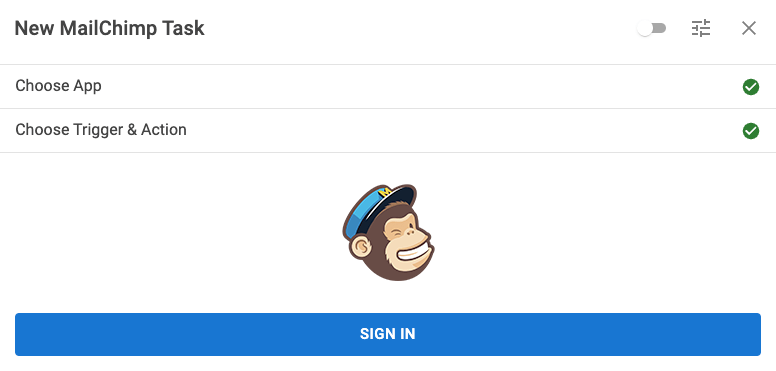
On the next step, click SIGN IN to create our MailChimp connection.
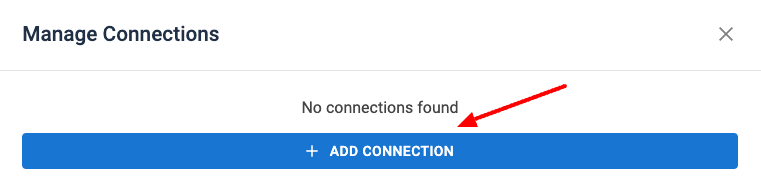
To create our connection with MailChimp, Click ADD CONNECTION to get started.
Get your MailChimp API Key
Before connecting to MailChimp, we need to create a MailChimp API Key. To grab your API Key, follow the steps listed below:
To obtain your MailChimp API Key you need to log into your MailChimp Account, select your account > on the top right on your avatar > Account & Extras > API Keys. You can read more here.
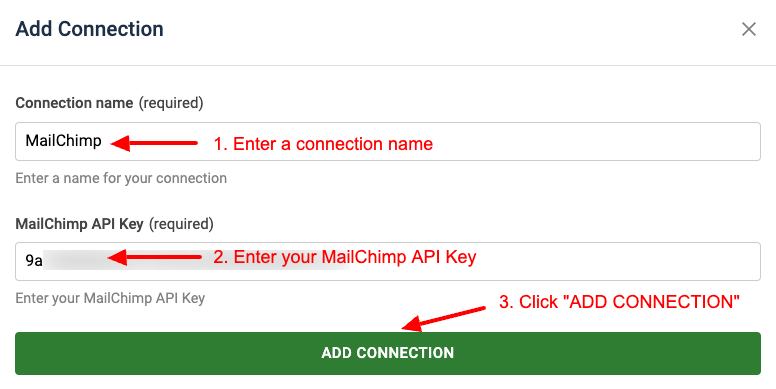
Now that we have obtained our MailChimp API Key, we can continue setting up the connection with MailChimp. Enter a connection name and paste your MailChimp API Key in the fields Connection Name and MailChimp API Key, respectively. Then click ADD CONNECTION.
The connection has been added, and you can close the connections window.
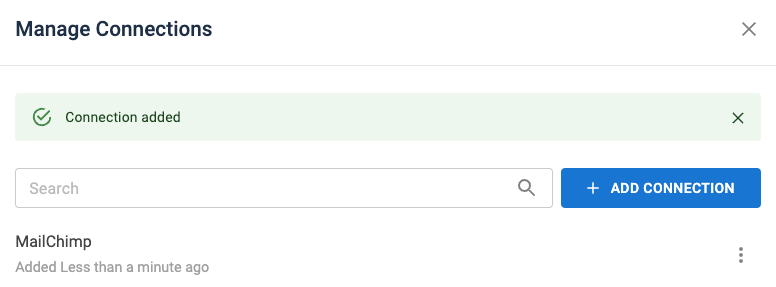
If you see the "Connection added" message, your connection with MailChimp has been established, and you can continue with the next step. If you see any error message, please review your API Key.
Select the newly created connection from the list and click CONTINUE.
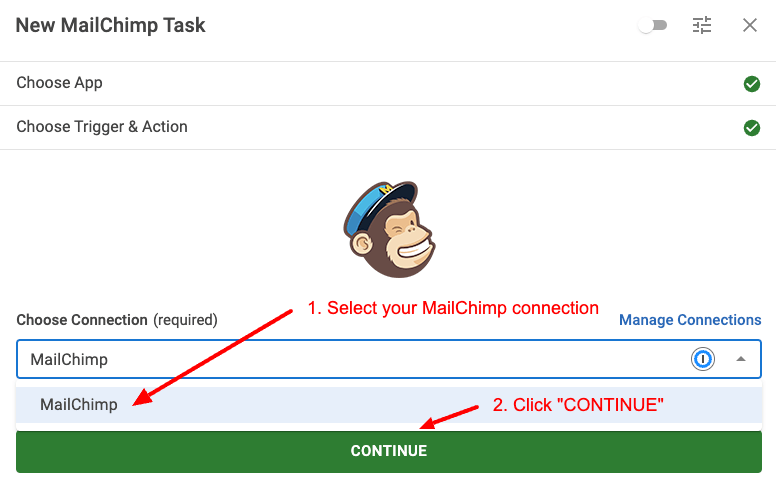
Ensure that your newly created MailChimp connection is selected in the dropdown.
Setup Action
After you've set up the trigger, action, and connection, it's time to set up the action itself and define what information to send to MailChimp. In this step, you can view all available settings and map each option with a fixed or dynamic value using Smart Tags.
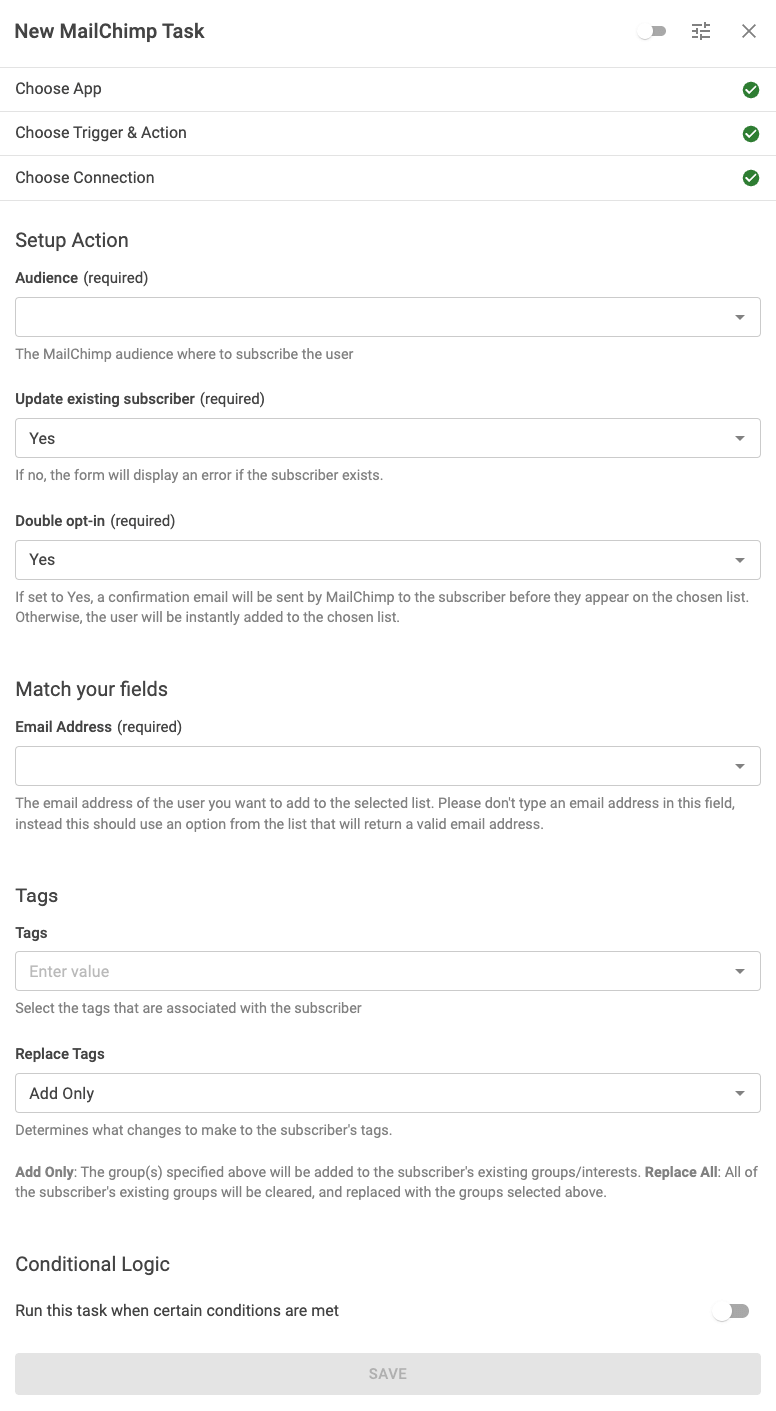
Let's see all available settings:
Audience
Select the audience (list) to which all subscribers will be saved in your MailChimp account. A complete list of all your MailChimp audiences will be available, and choose from any form field, or Smart Tag.
Update existing subscriber
Enable to update existing subscribers' information on your MailChimp account. Disabling this will result in your users seeing an error message when the form is submitted, which prevents already subscribers from re-subscribing to your lists.
Double opt-in
In case you do not want to notify the user of his subscription to your MailChimp mailing list, you can choose No.
Email Address
Select the email address of the submitter. This is the user that will be subscribed to your MailChimp list. Choose the Email field in your form.
Merge Tags
MailChimp provides merge tags, which allows you to store additional information when a subscriber is saved on your MailChimp account, such as their name, age, company info, and more!
When you select an audience, all merge tags for that audience will be automatically available under "Match your fields" section.
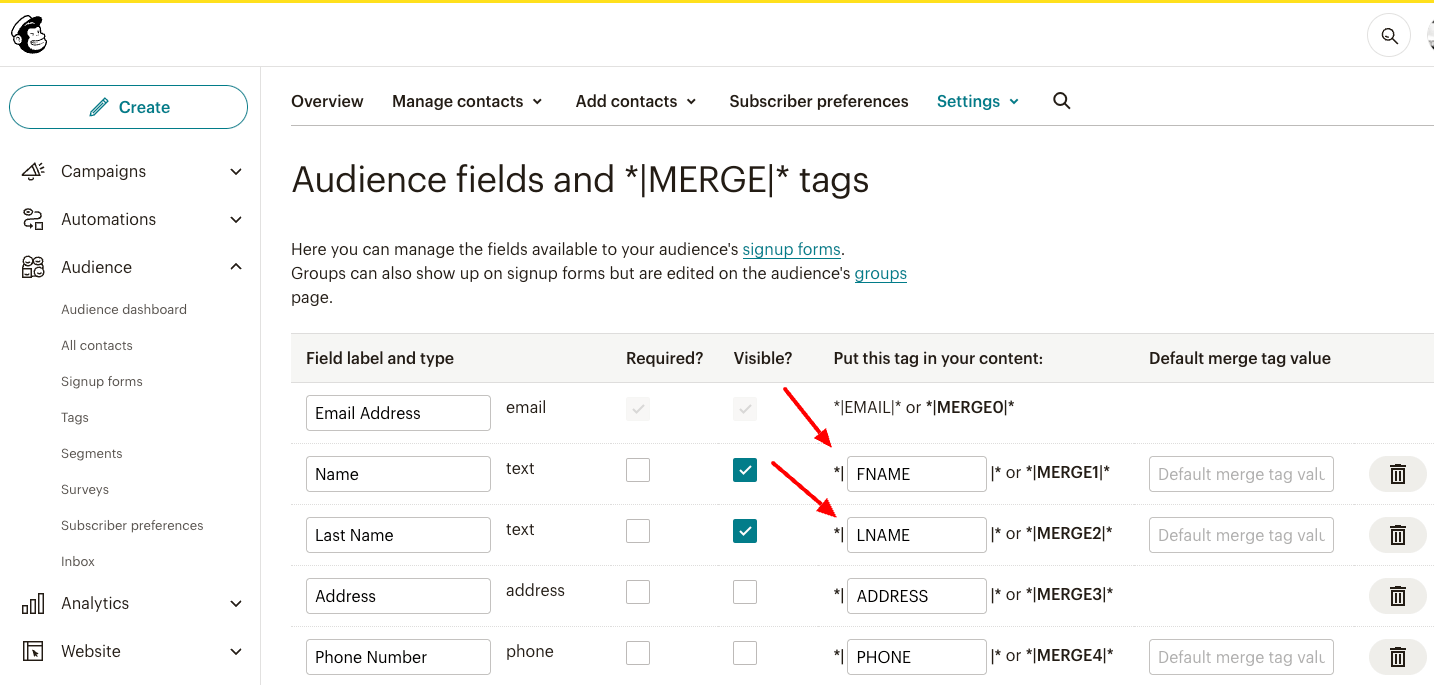
You can configure your MERGE Tags through your MailChimp Dashboard. To do that, navigate to the list you had set up previously while configuring the addon and follow the steps in the screenshow below.

Once there, you'll see a screen like the one below in which you are able to identify and set the extra fields needed to collect more user data. As you can see in the screenshot below, as an example, we have the fields FNAME and LNAME to collect the first name and the last name of the user respectively.
That's it! Your custom field can now be used in your MailChimp task.
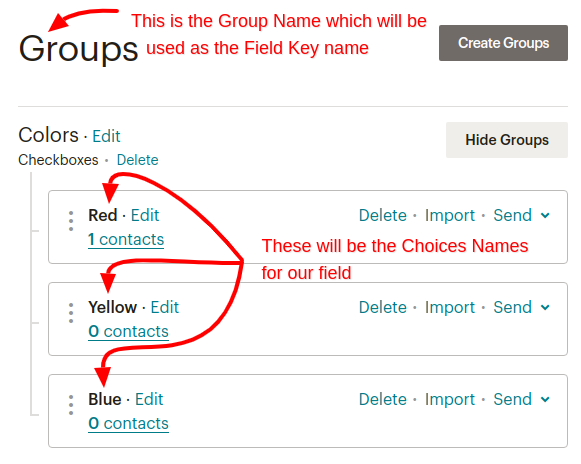
Interest Groups
If you have created some Interest Groups in your MailChimp audience, you can configure your ConvertForm to assign subscribers to those Groups.
Essentially, it is recommended that you create a field that is either a Checkbox Type or a Dropdown Type since these are the same field types that you can also choose in MailChimp while creating an Interest Group.
For example, in the screenshot below, we have created an Interest Group called "Colors" and for its values we have added "Blue", "Red" and "Yellow".
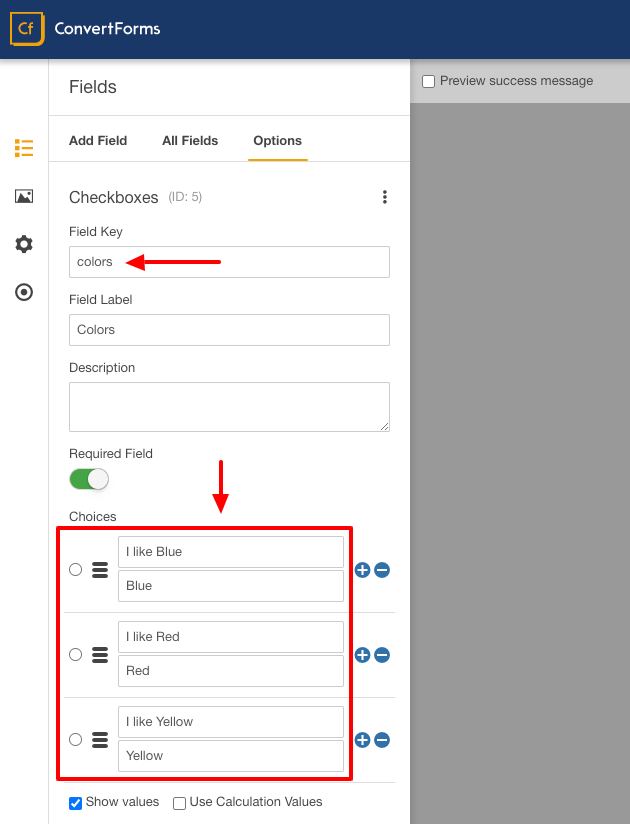
Therefore, in our form, we must create a Checkbox field with the field name "Colors" and as checkbox choices, we need to add "Blue", "Red" and "Yellow".
Now whatever color the user selects from the form, it will be automatically saved alongside their MailChimp data > Interest group.
Replace Groups
Determines what changes to make to the subscriber's groups/interests.
- Add Only: The group(s) specified above will be added to the subscriber's existing groups/interests.
- Replace All: All of the subscriber's existing groups will be cleared, and replaced with the groups selected above.
Tags
Select the tags that are associated with the subscriber
Replace Tags
Add Conditional Logic
Conditional logic makes it possible to run tasks only if specific criteria are met, like a user’s email address matching a certain domain, the user being associated with a certain Joomla User Group, or a form submission having a specific value.
While editing the MailChimp task, go to the Setup Action step and scroll down to the Conditional Logic section to set up Conditional Logic. Here's where you define all the rules the task should meet to run.
For example, let's say we need to sync submissions to MailChimp, only if the email is coming from a specific domain: @domain.com.
- Click to enable the Run this task when certain conditions are met.
- Click Add Your First Condition.
- Select the Email field in the Trigger dropdown.
- Select Contains in the Operator dropdown.
- Enter @domain.com in the value. Replace this with your domain name.
The condition should look like this:

You can read more on Conditional Logic on the Working with Tasks documentation page.
Activate Task
The final step is to enable our task. To do so, click the toggle on the dialog’s top right corner, as shown in the screenshot below.
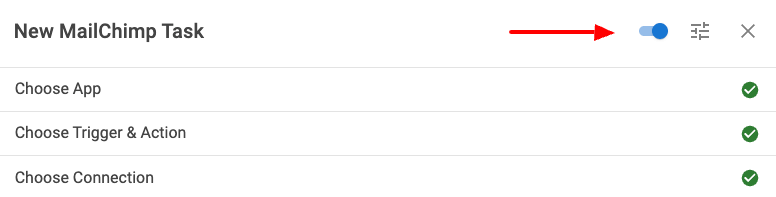
Finally, click Save to save the task, close the dialog, and then click Save from the top right corner of the form builder to save the changes on the form.
Congratulations! You’ve successfully created a form that syncs new submissions to MailChimp!
Setting Up MailChimp Campaign (Deprecated)
This method uses the soon-to-be deprecated Convert Forms Campaigns, which requires you to create an MailChimp campaign, configure it and assign it to your form. We suggest you use the new tasks way of integrating MailChimp with Convert Forms by clicking here.
To get started follow the steps below:
- Navigate to Components > Convert Forms > Addons
- Click the Cog button for the MailChimp Addon. A popup will appear where you can enable the addon.

- Click on the Status and select Enabled.
- Now you can click on Save & Close button to save the enabled addon.
2. Campaign Setup
To setup a Campaign with MailChimp, follow the steps below.
- Navigate to Components > Convert Forms > Campaigns
- Create a new Campaign by clicking New
- Type a name for your Campaign. This name can not be seen by anyone else but you.
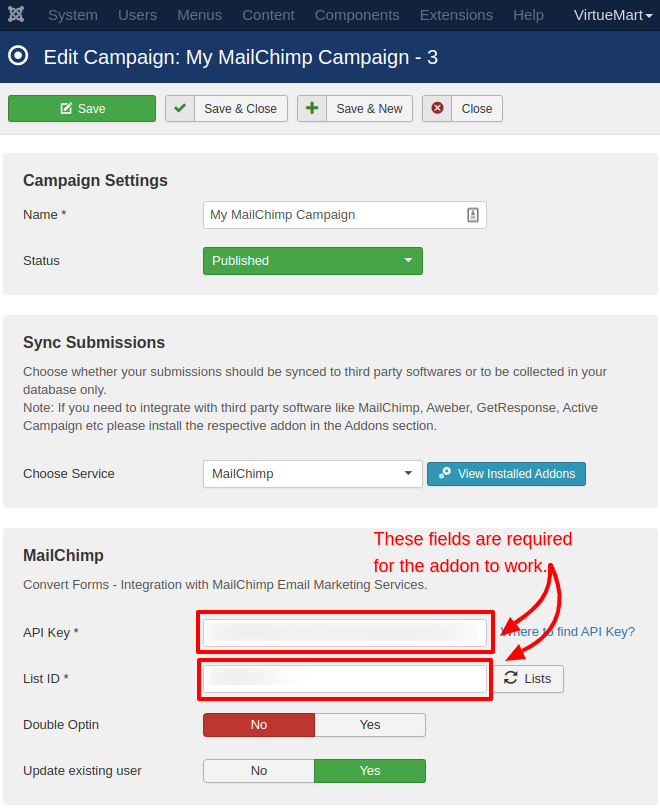
- For the Sync Leads > Choose Service selectbox choose MailChimp. If you can not find the MailChimp option then you do not have the MailChimp Addon installed and activated. In that case, please go back to the top of the article and see how to install the mandatory addon.
- Save the Campaign for the special MailChimp fields to show up.
- MailChimp needs:
- An API Key: Where to find it
- A List ID: Once you click the "Lists" button as shown in the screenshot above, a dropdown of your available Lists will appear and you can select the List you are interested in populating.
- Click Save & Close
3. Disable MailChimp Double-Optin
In case you do not want to notify the user of his subscription to your MailChimp mailing list, you can choose No for the Double Optin option in the campaign setup screen.
4. Enable Update Existing User
There will be cases where an existing user subscribes to your mailing list once again with the same or different extra data. For whichever reason, you are able to update any existing user with his latest data if you choose Yes for the Update existing user option in the campaign setup screen.
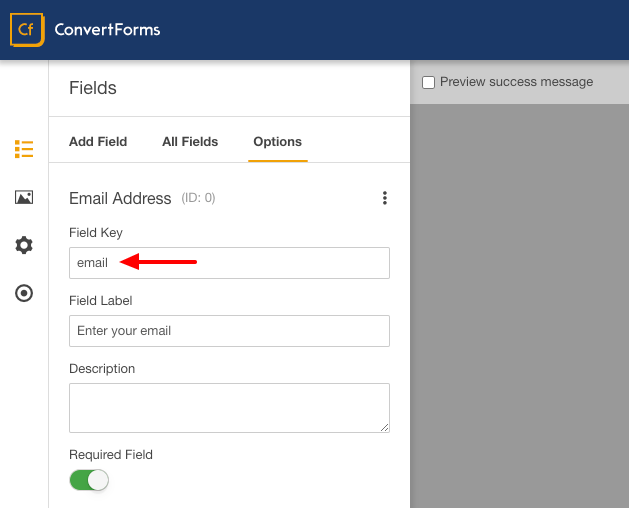
5. Email Field
For a Convert Form to successfully store an email address to your MailChimp account it needs to have an email field. This field is already set up at the time of creating the form and you don't have to change its input value as it is already configured for you.
6. MailChimp Tags
MailChimp allows you to add tags which are labels to help you organize your contacts. Tags can be added in 2 ways. Either in plain text or via a Dropdown, Checkbox or Radio field.
- First of all your Field that will hold the tags will need to have the Field Name set to tags.
- If you choose to enter the tags manually i.e. via a Hidden or Text Field, you will need to enter a comma separated list of tags i.e. contact, web, promo
- If you choose to use a Dropdown, Checkbox or Radio field, you simply add such a field to your form, enter the choices (labels and values) and Convert Forms will take care of the rest.
Once your users subscribe, you should see the contact alongside the tags they have selected into your MailChimp > Audience list.
7. MailChimp MERGE Tags
In order for you to store more user data than just an email, you must utilize MailChimp's MERGE Tags.
You can configure your MERGE Tags through your MailChimp Dashboard. To do that, navigate to the list you had set up previously while configuring the addon and follow the steps in the screenshow below.
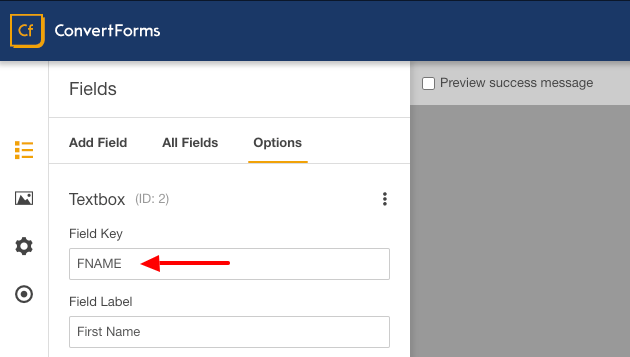
Once there, you'll see a screen like the one below in which you are able to identify and set the extra fields needed to collect more user data. As you can see in the screenshot below, as an example, we have the fields FNAME and LNAME to collect the first name and the last name of the user respectively.
With the fields you have configured on your MailChimp Account, you can now proceed and use the same ones in your Convert Form. For example, we used our FNAME and LNAME tags in our Convert Form in the screenshow below.

8. MailChimp Interest Groups
In case you have created some Interest Groups in your MailChimp List, you can configure your ConvertForm to assign subscribers to those Groups.
Essentially, it is recommended that you create a field which is either a Checkbox Type or a Dropdown Type since these are the same field types that you can also choose in MailChimp while creating an Interest Group.
For a Field Name you must type in the name of the Interest Group and for each value you must type the same names of the values that you have created for that specific Interest Group. Let's see an example.
In the screenshot below we have create an Interest Group called "Colors" and for its values we have added "Blue", "Red" and "Yellow".
Therefore, in our ConvertForm we have created a Checkbox field with the field name "Colors" and as checkbox choices we have added "Blue", "Red" and "Yellow".
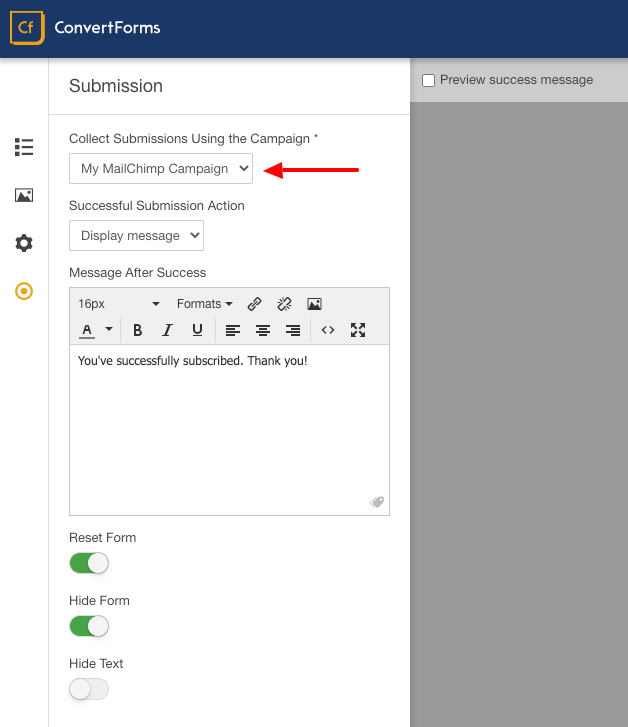
9. Assign form to Campaign
Of course don't forget to assign the form to our newly created Campaign! See the screenshot below to understand where to assign it.
Troubleshooting
How to resolve the "was permanently deleted and cannot be re-imported" error
When a MailChimp subscriber is permanently deleted, and the same user tries to re-subscribe, they'll see the following error:
MailChimp - EMAIL was permanently deleted and cannot be re-imported. The contact must re-subscribe to get back on the list.
Due to MailChimp's policy and to prevent spam submissions, there's no way that the user can re-subscribe to the same list via an API, when they were previously permanently deleted.
How to resolve: Instead, you should archive them which allows for the same user to re-subscribe.
How to resolve the "is in compliance state" error
Users might see the following error when trying to subscribe on your list:
MailChimp - EMAIL is in a compliance state due to unsubscribe, bounce, or compliance review and cannot be subscribed.
This error will appear when the user has subscribed with double opt-in, has unsubscribed via the link found in their emails sent by MailChimp, and tries to re-subscribe via your form, which has double opt-in disabled.
How to resolve: Ensure you have double opt-in enabled within your form.

