-
- AcyMailing
- Browser
- City
- Component Condition
- Continent Condition
- Convert Forms Conditions
- Cookie Condition
- Country Condition
- Date Condition
- Day of Week
- Device Condition
- Display Conditions
- E-Commerce Conditions (VirtueMart - HikaShop)
- EngageBox - Viewed Another Popup Condition
- Homepage
- IP Address Condition
- Joomla! Content Article Condition
- Joomla! Content Category Condition
- Joomla! Content Component View Condition
- K2 Category
- K2 Item
- K2 Page Type
- K2 Tag
- Language
- Menu Item
- Month
- New/Returning Visitor Condition
- Operating System
- Pageviews Condition
- PHP
- Referrer URL Condition
- Region
- Time on Site
- Time Range
- Trigger based on URL match
- URL Condition
- User Access Level Condition
- User Condition
- User Group
-
- Show a Floating Button After Popup is Closed
- Create Multilingual Popups
- Randomly Rotate Popups on a Page
- Αdd Sound Effects to Popup
- Make Accessible Popups
- Add Countdown Timer to Popup
- Limit impressions per unique visitor
- Test the responsiveness of your boxes for various devices and viewports
- Open a box by clicking on a menu item
- Trigger based on the minimum time visitor spent on the site
- Auto-Close Popup After a Specific Time
- Control Popup using HTML Attributes
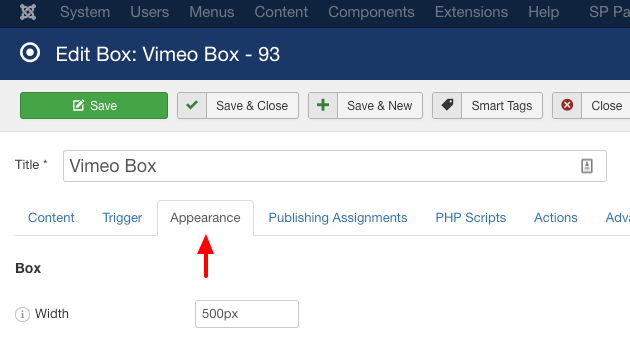
Customize the close button
To customize the close button of your Engage Box you need to navigate to your desired box and then click on the "Appearance" Tab as shown in the screenshot below
After that you can find the Close button customization settings under the Close Button section.
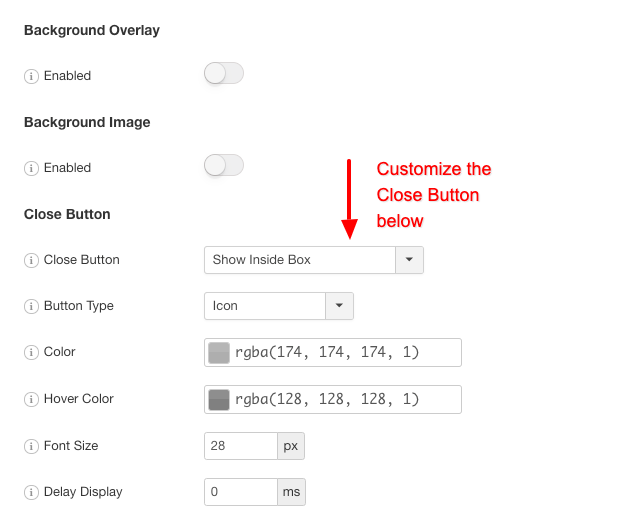
The first thing to notice is that you have two options of creating a close button
- An icon
- An image
Choosing the icon lets you treat the close button as text. This means that you can change its color, its hove color and its size as it is apparent from the screenshot above.
On the other hand, if you choose an image then you can choose to upload your own image as a close button but you do not have any extra customization options like you did with the icon option.
Finally, a common option is the "Delay Display" option which, as its name suggests, is a way to delay the appearance of the close button from the time the box appears. All you have to do is to type in the time value in milliseconds. For example, for 2 seconds type 2000.


 Rated: