-
- AcyMailing
- Browser
- City
- Component Condition
- Continent Condition
- Convert Forms Conditions
- Cookie Condition
- Country Condition
- Date Condition
- Day of Week
- Device Condition
- Display Conditions
- E-Commerce Conditions (VirtueMart - HikaShop)
- EngageBox - Viewed Another Popup Condition
- Homepage
- IP Address Condition
- Joomla! Content Article Condition
- Joomla! Content Category Condition
- Joomla! Content Component View Condition
- K2 Category
- K2 Item
- K2 Page Type
- K2 Tag
- Language
- Menu Item
- Month
- New/Returning Visitor Condition
- Operating System
- Pageviews Condition
- PHP
- Referrer URL Condition
- Region
- Time on Site
- Time Range
- Trigger based on URL match
- URL Condition
- User Access Level Condition
- User Condition
- User Group
-
- Show a Floating Button After Popup is Closed
- Create Multilingual Popups
- Randomly Rotate Popups on a Page
- Αdd Sound Effects to Popup
- Make Accessible Popups
- Add Countdown Timer to Popup
- Limit impressions per unique visitor
- Test the responsiveness of your boxes for various devices and viewports
- Open a box by clicking on a menu item
- Trigger based on the minimum time visitor spent on the site
- Auto-Close Popup After a Specific Time
- Control Popup using HTML Attributes
Image Box Type
The Image Box Type is an invaluable tool for the cases where an image is the only thing that's needed to promote your desired content. Let's see how we can set one up with EngageBox.
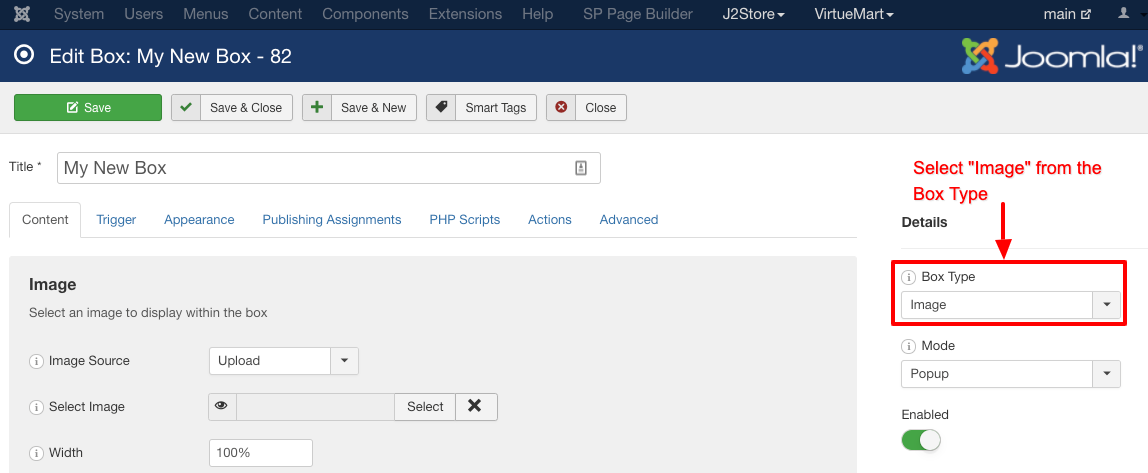
The Image Box Type Selection
First, you need to make sure that you have selected the "Image" Box type as shown in the screenshot below.
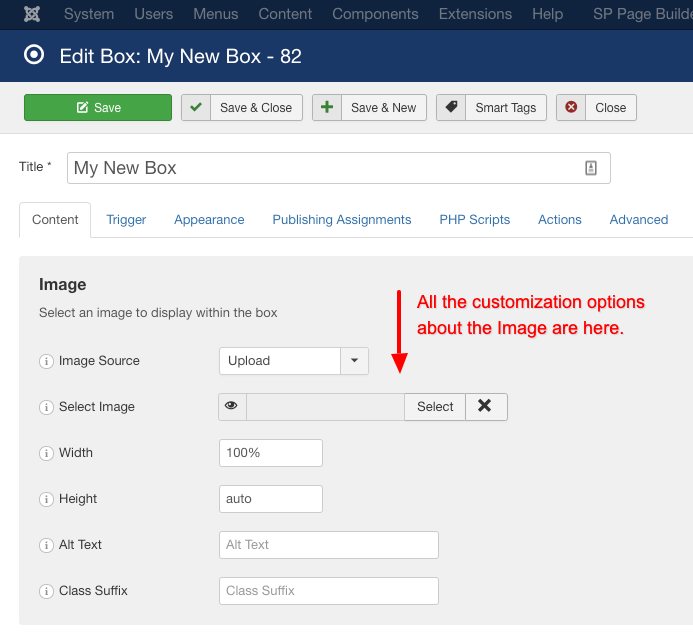
The Image Options
Then, you should choose an Image Source. You can do that by uploading an image to your server or directly using a Custom URL.
For the Width and Height attributes you can either use percentages, pixels, auto or other rarer units of measurement such as points. In most cases having Width set as 100% and Height as auto can be all that's needed.
Also we highly recommend that you write an Alt Text for your image as it is needed for Accessibility and SEO purposes alike.
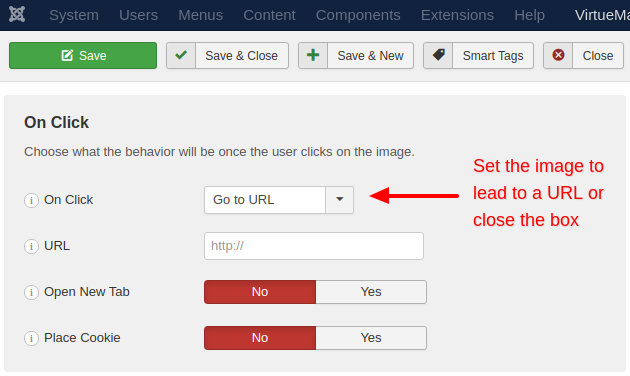
The On Click Behaviour
Finally, you are able to choose what happens when your visitors click on that image. You can choose to
- Go to URL: This option redirects the user to a URL of your choosing. On top of that you can also choose to redirect them on a New Tab or the current one.
- Close Box: This option closes the current box.
Also, if you choose Yes for the Place Cookie option then a cookie will be placed on the visitor's browser in order for the box not to open again. The cookie will be valid for the duration you will configure in the "After Close Stay Hidden" option in the Trigger Tab.


 Rated: